Homemade Baechu (Cabbage) Kimchi
Kimchi is certainly pickle/ condiment royalty. Very Korean and yet superb with traditional British veggies, a home for all your seasonal veggie fest’s and the perfect way of preserving the ‘gluts’ that we experience at this plentiful time of year.
I don’t know why I’ve used the ‘Homemade…’ in the title, it seems quite obvious that it would be homemade, but it does give a nice homely ring to a dish and there is nothing like the rancid smell of festering cabbage to make me feel settled and comfortable. I love the smell of kimchi and sauerkraut in the house, but I must admit that after a week or so, the garage beckons for our fermenting friend. Kimchi is a labour of love, but isn’t all cooking. Surely when we cook we are bucking the convenience trend and doing something for ourselves that is quiet intangible, but easily felt and munched. Food made with love, fermented with relish, is as integral part of any home. Sacrifice for our bellies is a worthy sacrifice I say. Kimchi will test your culinary resolve and passion for pickles to the max. Its like marmite you could say, there is an intense love/ hate things going on, Jane and I are in the Korean cabbage love camp.
Kimchi is a great place to start fermentation exploration, a spicy pickle that can be taken in many different directions from a flavour point of view. This Baechu (Cabbage) Kimchi recipe is basic and very open to embellishments. It is normally made with fish sauce, but for obvious reasons, your won’t find that on the BHK. It is not missed either.
Kimhci is very simple to make and the toughest part is being patient enough to let it ferment properly before you munch it. Kimchi lights up any meal, especially salads and rice dishes and can even be used in soups, stir fries and stew . It is the national dish of Korea, where they eat it with pretty much anything and in vast quantity. Your average Korean eats 125gms of Kimchi per day. Three quarters of the Kimhci consume in South Korea is still made at home, which is great to hear, although most South Korean residential areas must have quite a fragrant cabbage pong going on!! Surely they have a special Kimchi closet or well ventilated area for its maturation. Many businesses in Korea give a yearly ‘Kimchi’ bonus, so employees can go out and buy the ingredients to make a years supply of this wonder pickle. Kimchi made in Korea is controlled by a legal standard, basically if it isn’t made the traditional Korean way, it just ain’t Kimchi. In Korea instead of saying ‘cheese!’ when you have a photograph taken, they say ‘kimch!’. Its a happy sounding word! It certainly makes me smile. Koreas obsession with Kimchi and the fact that it is normally eaten with rice or noodles is one of the factors keeping obesity out of Korea, generally they enjoy a high fibre, low fat diet with Kimchi as a tangy constant.
Kimchi is alot like its German sibling Sauerkraut, the only major difference being flavouring and the fact that Kimchi is softened in very salty water to start with and then fermented in less salty water. Sauerkraut is slightly more straightforward.
We make a big batch of Kimchi, you can half this quantity if you are just starting out and are unsure as to whether Kimchi will become a major part of your life. You will not be disappointed with the results, as I said, homemade Kimchi cannot be replicated and it is surprisingly easy to prepare. Lastly, we should mention that Kimchi is ridiculously good for you and contains all the magic of other fermented foods. This type of pickle cleanses the palate and also aids digestion.
If you are on a low salt diet, you can make Kimchi and Sauerkraut without salt, just substitute with wine, seeds like fennel, aniseed, dill, carraway etc or even seaweed (which contains sodium naturally).
One thing is for sure, fermenting is addictive and once you start, it opens so many doorways for tasty pickles to complement any meal. Being fermented, they also store very well, so for minimum effort, you can have a constant supply of glorious tangy condiments.
Kimchi can also be made with most root vegetables; Swede, Turnip, Burdock, Jerusalem Artichoke, Horseradish……etc in Kimchi is awesome and any radishes are always welcome (and quite traditional to boot).
Chinese cabbage is easy to find in Asian/ Oriental Food shops throughout the UK and I’d imagine, the world. Local cabbage also works well, it just isn’t quite as Korean looking or tasting. Where you find Chinese cabbage, you will also find Daikon radish.
Have fun with your microorganisms!
The Bits – Fills one massive gherkin jar (see picture above)
1 kg Chinese cabbage (you can use bok choi or white cabbage as subs)
2 Daikon radish (or a large handful of radishes)
3 carrots (or turnip)
3-4 onions (or 1 large leek)
6-8 cloves garlic
6-8 red chillies (depending on how hot you like it!)
6 tbs fresh ginger (grated)
Sea salt
You may also like to add green peas, seaweed, artichokes, in fact most veggies that are seasonal can be added to a Kimhci to great effect. Potatoes do not work so well.

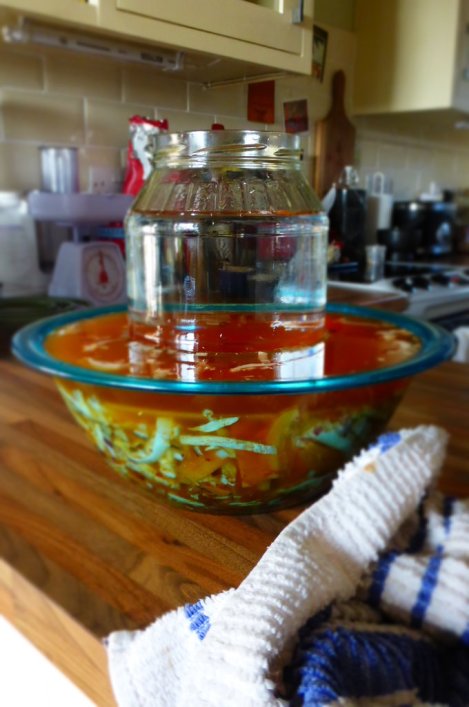
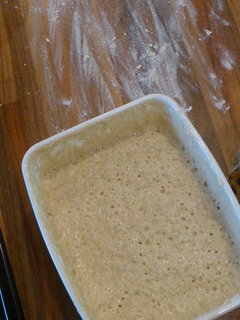
Kimchi veggie mix after overnight soaking
Do It
Grab a large saucepan or bowl with vertical sides that is big enough for the job. You will also need a lid/ plate that fits snugly into the pan/ bowl, something that will be suitable to press the kimchi down and keep it submerged beneath the brine. You don’t need purpose bought equipment here, just use whats hanging around the kitchen. You’ll also need a weight, we use a large jar filled with water, anything good and heavy. Really, the heavier the better. The more you press and bash the kimchi, the quicker it breaks down and better it tastes (all the flavours can then get right into the cabbage and veggies).
Mix your brine, 2 litres of water and 9 tbs of salt. Stir to dissolve salt, taste to check that it is very salty.
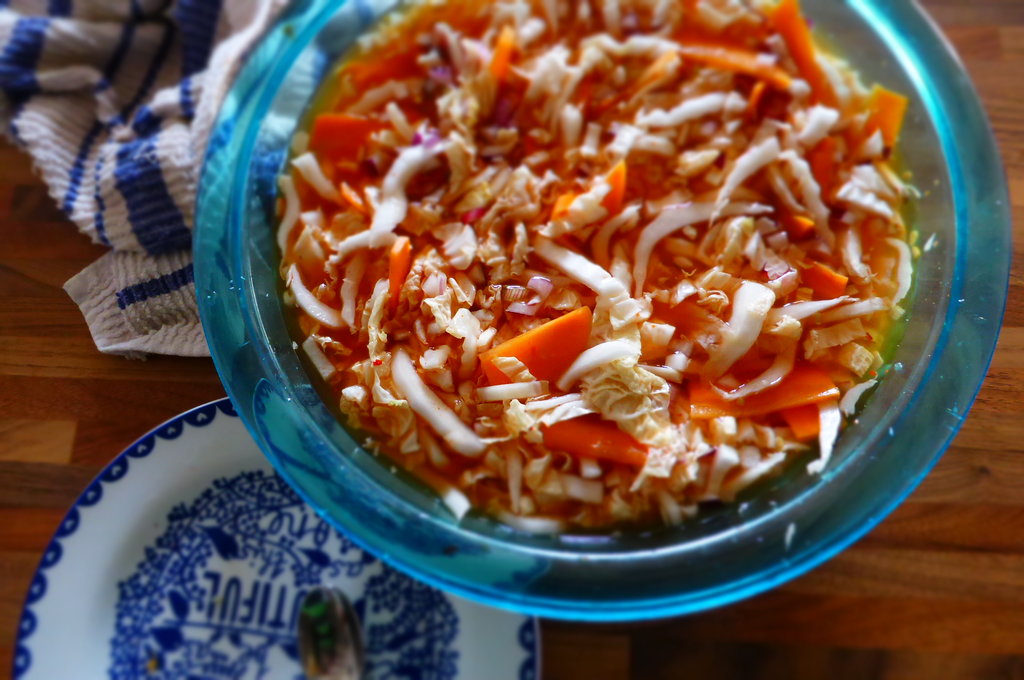
Roughly chop the cabbage and finely sliced the radish and carrot. Leave these veggies to soak in the brine, weight them down and leave overnight to soften. Add any other seasonal veggies at this stage.
Grate the ginger, mash and slice the garlic, remove the seeds from the chillies and slice (pop them in whole to reduce the heat of the kimchi), use loads of spices and flavourings, Kimchi loves it! I then like to add the spices to a pestle and mortar and mash them up a bit, this can also be done in a food processor (just pulse a few times).
Drain the brine off the vegetables (reserve the brine) and taste them to ensure they are salty enough. If they are too salty, unpleasantly so, rinse them with fresh water. If they are not salty at all, sprinkle in a few more teas of salt.
Mix the veggies with the spice paste thoroughly and stuff into your saucepan/ bowl. Pack it down tightly, bash it around a little bit with a rolling pin if you like, lovingly abuse it! Press down with your plate/ lide until the brine is released and rises above the veggies. You may need to top it up a little using your reserved brine. Leave the kimchi, with a weight on top, for a day, covered with a kitchen cloth or anything that will keep out insect intruders and dust. Any bits of vegetable that float to the top, escaping the lid, just throw into the compost bin.
Leave to ferment in a warm place, the smell will be overpowering at times, so bear this in mind. Taste the kimchi everyday or as often as you can (or remember to do so). When the Kimchi tastes ripe, tangy and very flavourful, place in a sterilised glass jar (or several) and keep in the fridge. This will take between one to two weeks. The warmer the place, the faster the fermentation. Keep the Kimchi well weighted and pressed, you can even do this by squeezing it with your hands on a daily basis (which I quite enjoy). Microorganisms work better in the heat.
This is a relitively low salt Kimchi, traditonally in Korea it would have more salt and be left in a cooler place to ferment for alot longer. This works if the smell is overpowering your house and it needs to be moved to a cellar/ garage. We are gluttons, we cannot be that patient unfortunately!!!!
Pressing the Kimchi down evenly is very important
Any mould/ spores that form on the brine surface are perfectly natural, just skim them off regularly. Your Kimchi is very safe in its neutral brine home with its friendly and beneficial bacteria. Bacteria has such a bad rap, but we are made up of billions maybe trillions of them!
Serve
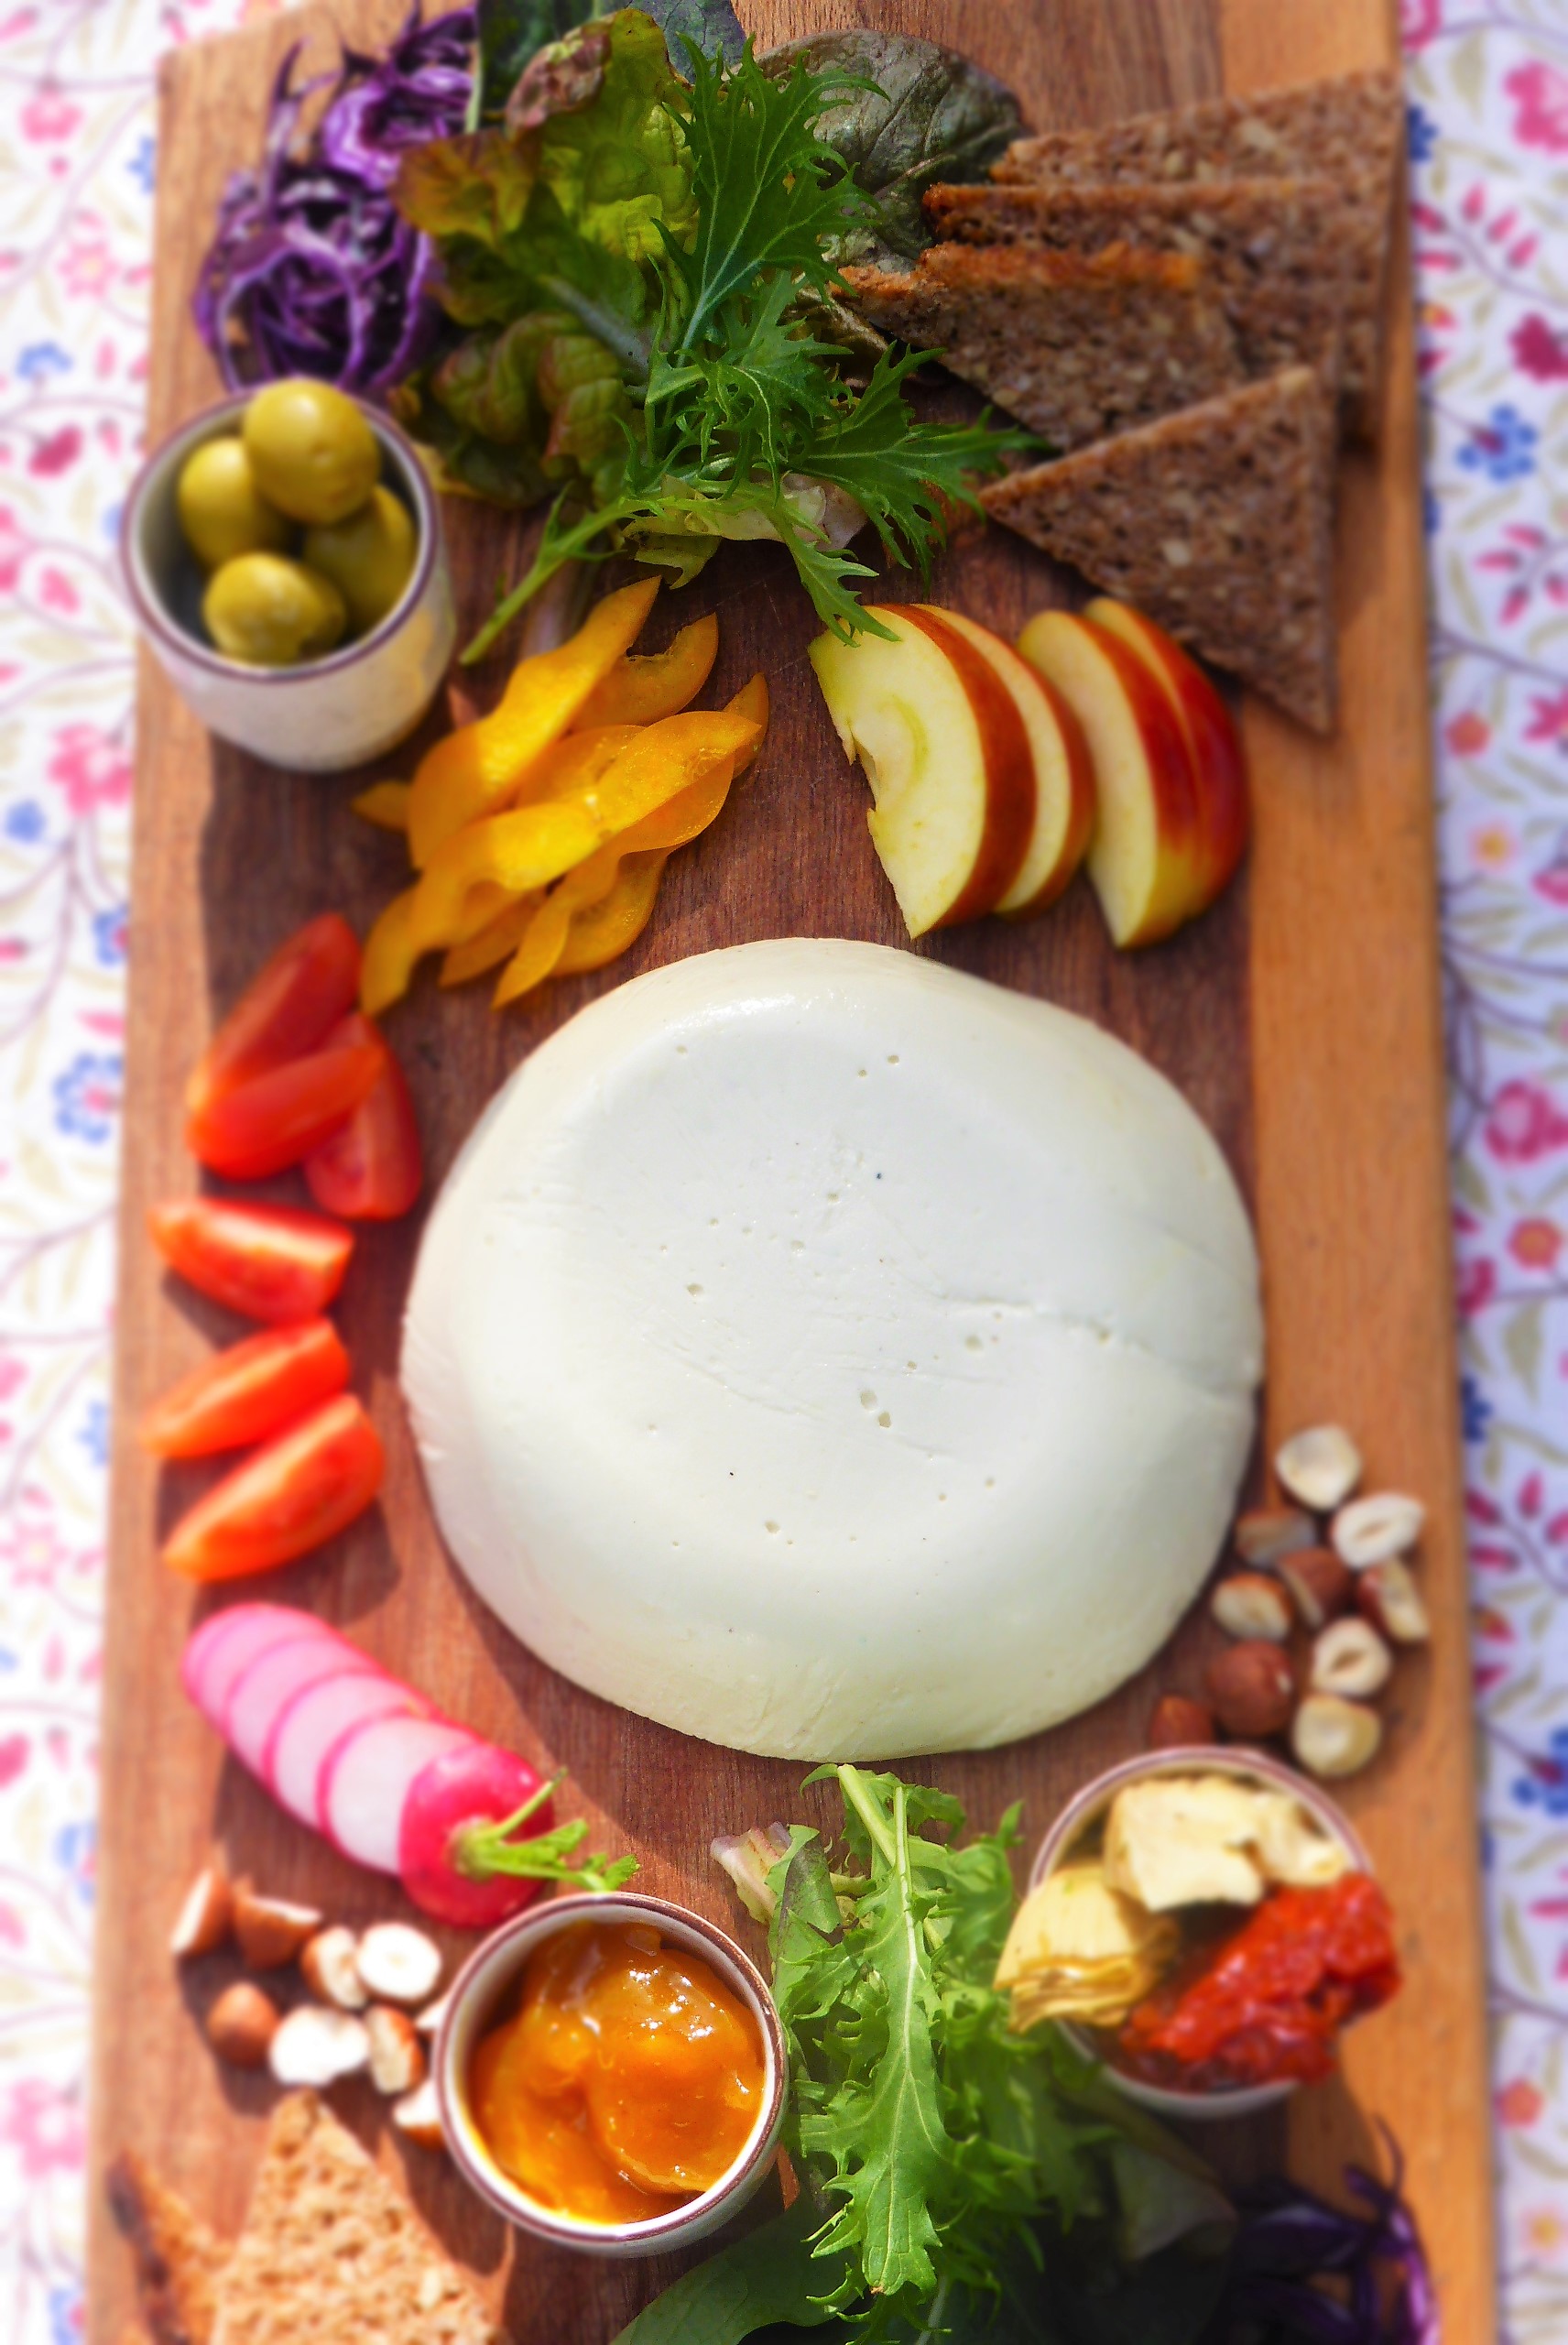
I like it stirred into plain rice, a very Korean way of eating it. Jane likes it on a mixed salad plate. Stir frying it with tofu is a real treat, or use it to liven up soups, especially miso based soups we have found.
We both like it pure, spooned straight from the jar into our mouths, no nonsense, no additions required. Kimchi is a flavour-fest straight up.
Foodie Fact
Kimchi is packed with vitamin A, B and C but its real star is the healthy bacteria present in all fermented foods, called lactobacilli. It is normally found in yoghurt, so for vegans, eating fermented foods is a great way of getting this wonder bacteria into our diets. Loctobacilli helps with digestion and works to prevent yeast infections. Fermented cabbage has also been shown to help fight cancer.

The Beach House at sunset yesterday (through the Hawthorn tree) – we’re having an amazingly sunny autumn up here. Summer hasn’t ended yet and its Oct 1st!!!!

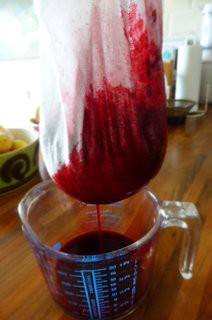
 Pear & Cranberry Chutney
 Pears, glorious pears……
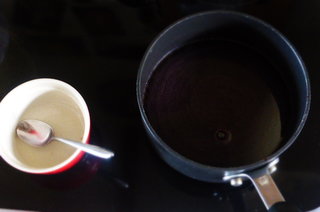
 Pear and Cranberry Chutney – on the hob


")