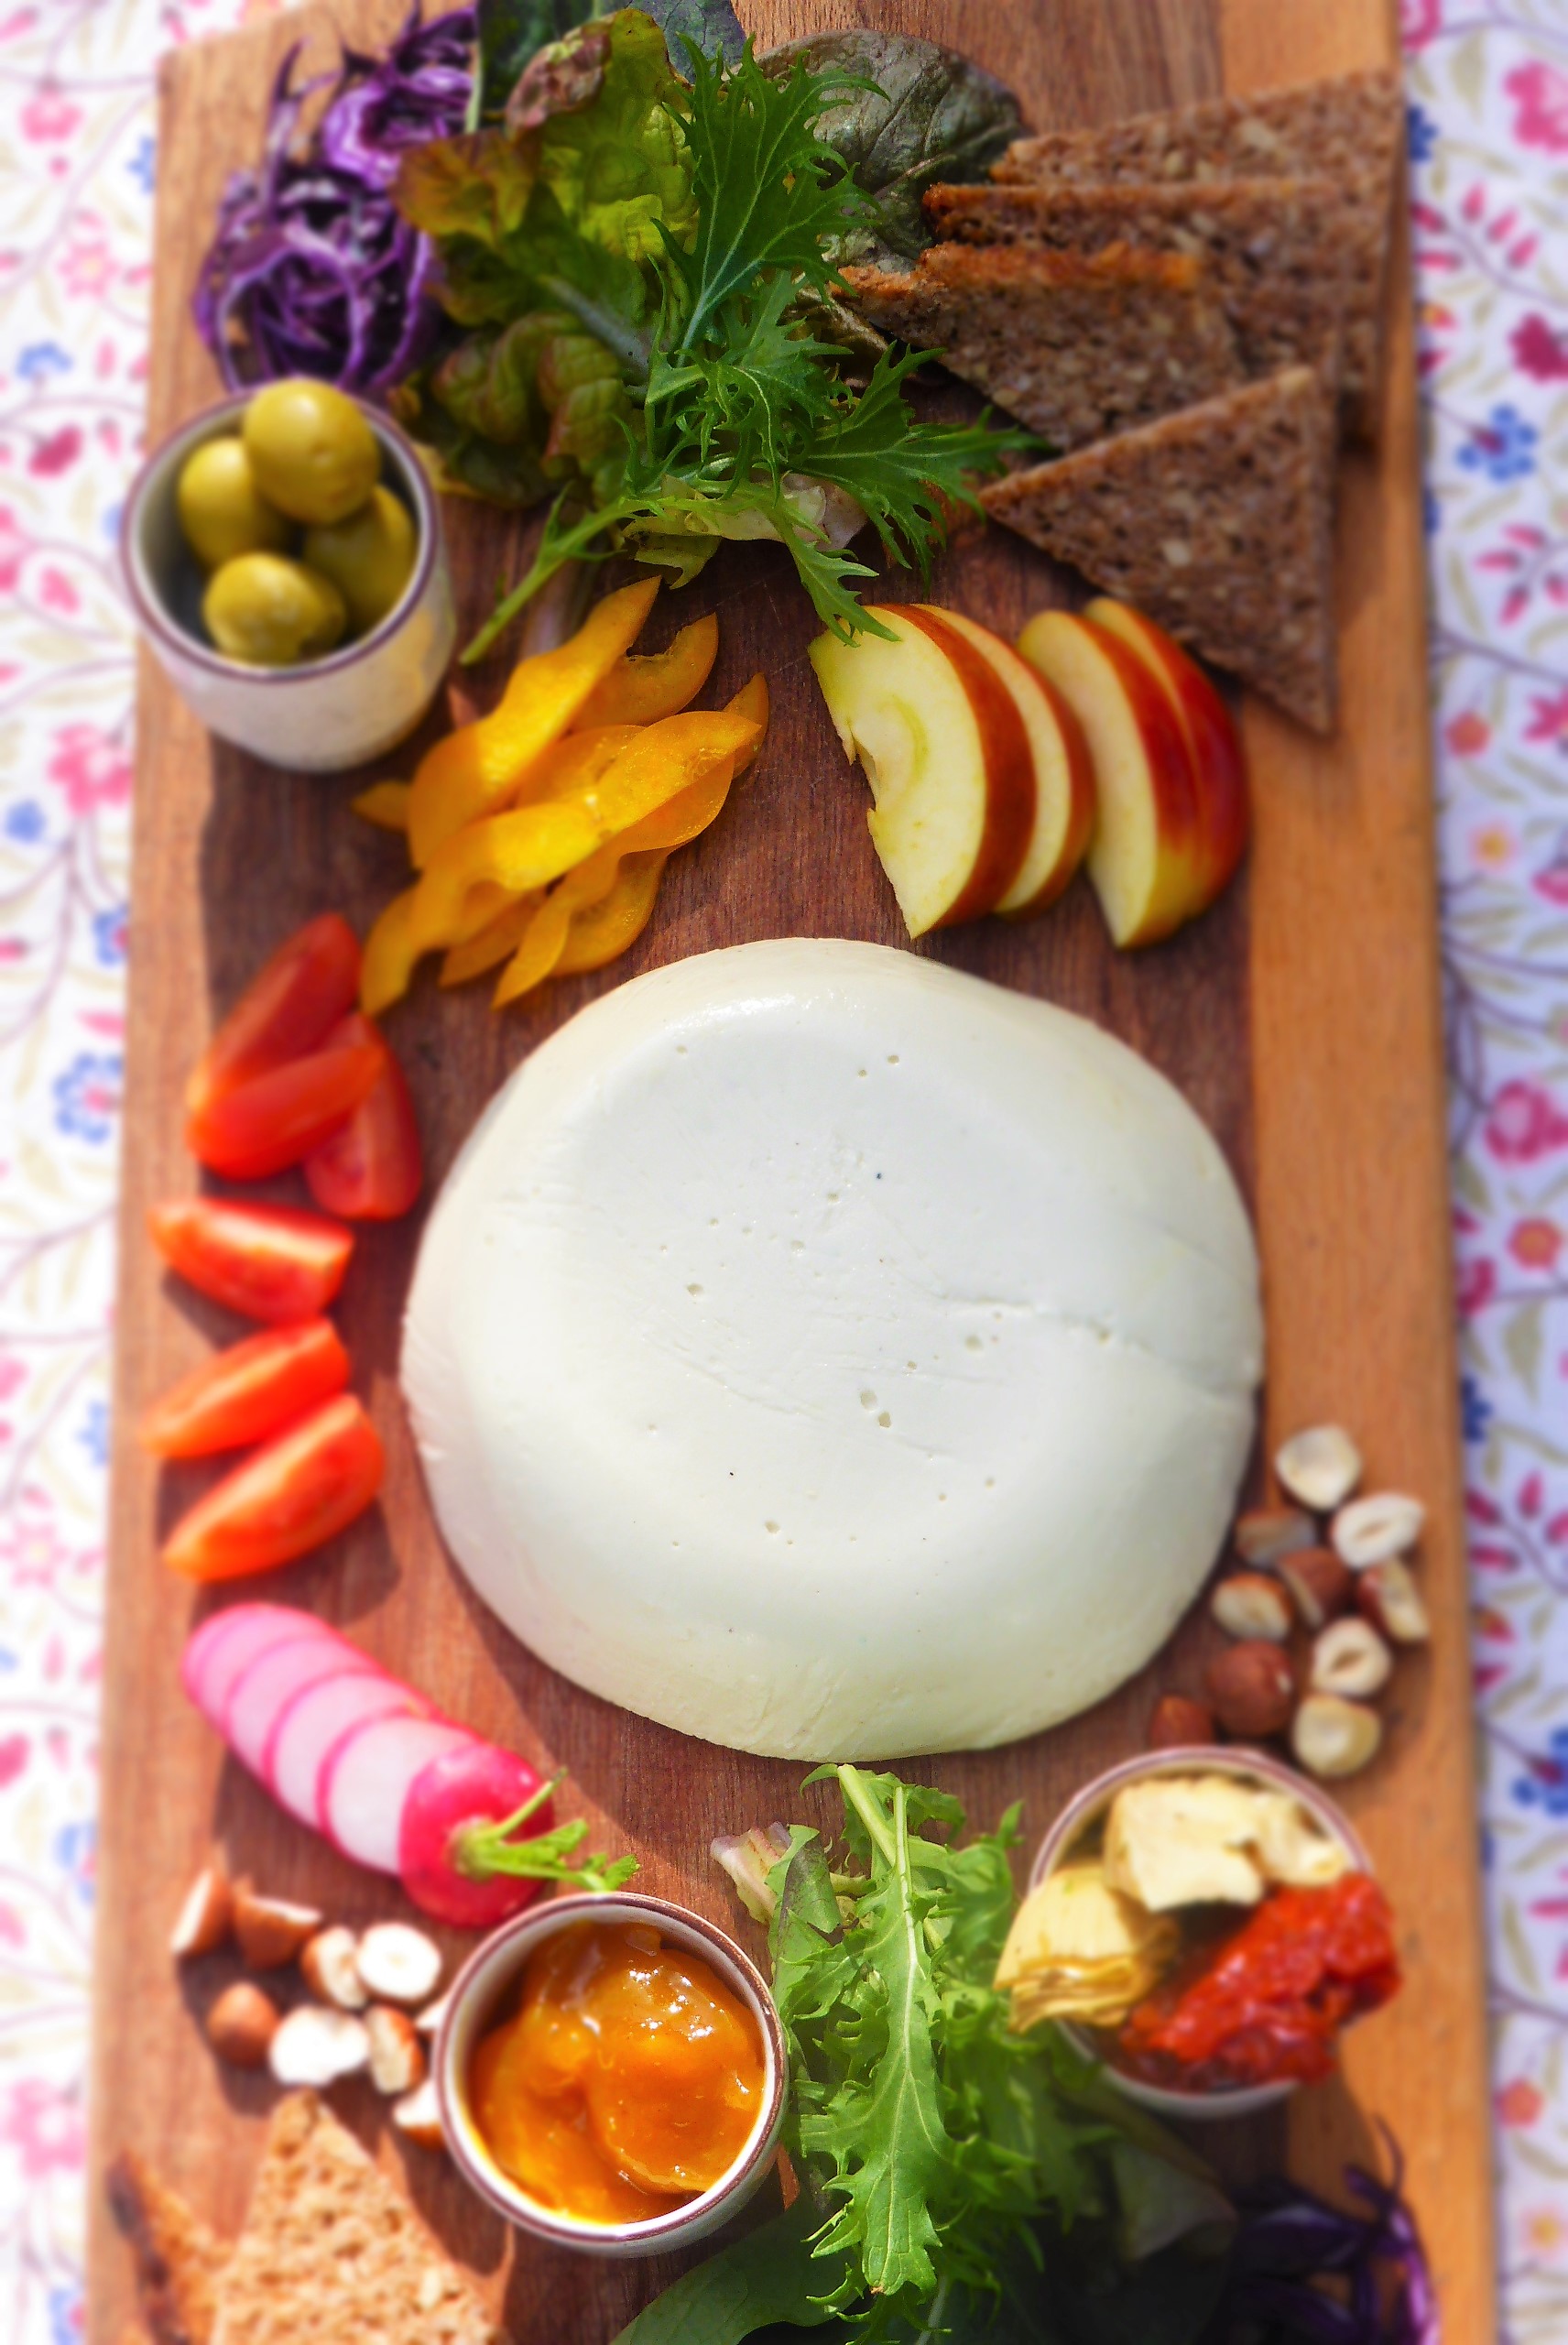
 Seeded Spelt Loaf
Here’s a simple, wholesome and tasty loaf for all made with one of our favourite flours, spelt. In the wonderful world of bread making, this Seeded Spelt Bread is one for the beginner but will no doubt be enjoyed by everyone. There is nothing that can beat the fresh wafts of warm bread floating around your house, although Dad’s mulled wine at Christmas does come close. Bread wafts instantly makes a house into a home.
Shop bought bread, not even the posh deli style stuff, can come close to a lovely loaf of home baked happiness. Some things you just can’t buy and I believe that most foods are well worth that little bit extra effort and bread is definitely one of those.
There is something priceless and utterly magnificent about the whole bread making process. Its magical and only takes a little practice and know how. I’ve popped a few tips below that will get you started on the road to bread brilliance. If you’re a keen baker, and lets face it, its become a bit of trend recently, this loaf is simple and yet delicious.
A loaf of bread is surely one of the nicest things you could ever give to someone. If I enter a persons house and they say ‘I’ve just taken some loaves out of the oven’ it’s like entering some kind of ideal parallel universe where everything is just about right. I was once made a German sourdough loaf by some friends and I rave about it still. It was over five years ago but I’ll be taking that loaf to the grave! I wanted to move into their kitchen and make baked goods for the rest of my days.
In my humble opinion, making bread is one of the most soulful things you can do in the kitchen. Really, I see cooking for people as a privilege. Once you get the hang of it, the world of bread is yours to explore. There is no doubting that bread making can be daunting at first and you’ll probably not knock out a perfectly risen and crusty sourdough loaf at the first time of asking. But stick to the basics and you’ll make something wholesome and full of homemade goodness.
We don’t eat loads of bread in the BHK, I might bake one morning a week. At work, I bake bread every morning and its one of my favourite ways of starting a day. All that kneading wakes the body up nicely. For me, keeping things simple first thing is always a good idea!
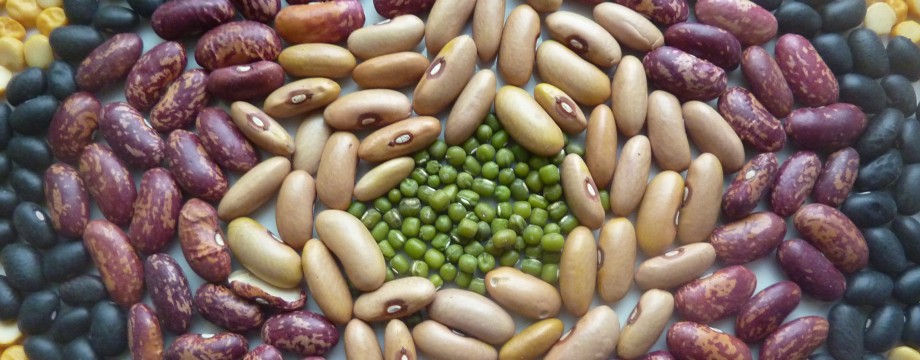
WHAT IS SPELT?
Spelt is one of my favourite flours giving a lovely light and nutty loaf. It is really different from using wheat flour and is a highly nutritious grain that many people who are sensitive to wheat can enjoy. Sometimes known as dinkel wheat (a word I appreciate) spelt has been cultivated since 5000BC. It’s fair to say that folk around here in North Wales have probably been making loaves like this since the Bronze age.
Spelt is basically a sub species of wheat and being an ancient grain, has not been manipulated to meet manufacturing needs (like many variations of wheat have for example). Spelt is easy on the digestive system as the gluten in spelt is water soluble and breaks down when mixed or chewed. Being an ancient grain, spelt has kept its hard hull intact. Many modern wheat grains have no hull which protects the grains from pests and the elements. These wheat grains have now developed an enzyme inhibitor that keeps pests at bay but effects the way that we digest these grains, as enzymes are an essential part of good digestion. If you feel bloated or heavy after eating bread, switching to spelt bread may be a good idea.
SIMPLE TIPS FOR AWESOME LOAVES
Bread takes some time and effort, not to mention a little technique and skill:
- LINING – Line your loaf tin/ oven tray with baking parchment. If your equipment is not totally non-stick, and that attribute is quite rare, then don’t risk a sticky situation. Quickly line with baking parchment and you are certain of a simple extraction.
- PROVING – The texture of a loaf comes mainly from the gluten waking up and doing its thing. This takes a long proving and some kneading. You don’t always have to pummel your dough for a long time, you can even leave dough in a fridge or a cool place for a very slow prove, overnight for example. This allows gluten and flavours to develop and makes for a delicious loaf. In Wales, it is so cold and we have no central heating, we have no choice but to take it slow. We have however been known to use a warm hot water bottle to help get our dough woken up.
- OVEN – Baking in general will mean getting to know your oven. They are all different and timings may vary. Where you place loaves/ cakes in an oven has a huge effect on the outcome and results will vary depending on whether the oven is heated by a fan or the main heat source is from the base etc. It can be trail and error at first and the only way to learn sometimes is an over baked bottom on your loaf.
- PRESENTATION – Bread looks cool when its a bit rough I believe. Smooth is nice but try and give the surface some texture by not playing with it too much. Tears and bobbles are great on bread and add to the texture of an interesting loaf. You may also like to slash the top of the loaf before the final proving. This adds texture to the loaf and also looks mighty fine. Dusting with flour will result in a soft crust and brushing with soya milk will result in a crisp and darker crust. With wet doughs, the loaf will spread out in the oven a little, this is worth bearing in mind if you have a particular shape in mind.
- OBSERVE – Its also important to remember to be patient with bread making and flexible. Observe the bread, whats happening to it? When proving the loaf, is it rising too quickly or too slowly. This will all be dependent on the ambient temperature (or you forgot the yeast!!) Gauge whether the loaf is actually twice the size and amend the timings, less or more. Sometimes the loaf will take much longer to prove and that is fine and actually preferred. The key factor is that the yeast wakes up and does its thing, working its magic within the bread. A quick prove can result in off, sour aromas and big air pockets in the loaf.
- KNEADING – A wet, sticky dough is always better than dry and floury loaf. I use oil when kneading the loaf as this will not add flour to the recipe, changing the texture of the loaf. Many bread makers use dough spatulas instead of hands when ‘kneading’. The old fashioned image of sleeves rolled up and pummeling an hapless lump of dough is not always the best way to go. When your dough can stretched easily without breaking, around 8 inches is a good gauge, then its ready.
- STEAM – Turn your oven at home into a professional bakers oven by adding a cooking tray to a lower shelf whilst preheating and when the loaf goes in, pour some water into the tray. Creating steam which allows the loaf to develop a nice thick and light crust. I do this with most loaves.
- YEAST – This is the magic dust that makes bread rise. Always keep it separate from salt, they don’t get along and salt can kill it. Add them to different parts of the bowl. You can add your yeast to the warm water before mixing, but I find that it wakes up by itself.
Recipe Notes
I like this loaf with poppy seeds included in the seed mix. They have a lovely flavour and give a nice bite to the loaf. You may also like to add dried fruits like dates, apricots or herbs like rosemary and thyme to the loaf. Spices like cinnamon and even garam masala can be delicious.
Rapeseed is one of my favourite oils and is local to us in the UK. It has a great flavour that compliments spelt well, but you can use any oil, olive or sunflower etc.
Remember that spelt proves quicker than wheat. I have proved this loaf twice, but you can easily omit the first prove and go straight for a single 40 minute prove followed by baking. This is of course quicker and leads to a lighter loaf and ever so slightly crumbly. Not better or worse really, just different.
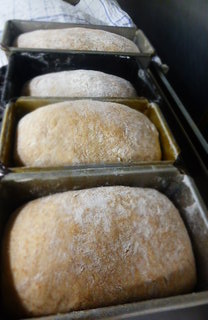
This bread can be baked in a loaf tin, this makes it easier to handle as the dough can be quite wet. If your just starting on your bread journey, go for a 1kg tin here. Handling a spelt loaf is different from a wheat loaf, it can be quite floppy and needs some gentle encouragement (see below).
Add white flour instead of spelt for a lighter loaf.
Due to the gluten being different in spelt, it does not take as much kneading as wheat. This can actually break down the gluten in the loaf, as oppose to strengthen it as with wheat.
Seeded Spelt Bread
The Bits – For one large loaf (10-12 slices)
500g spelt flour
1 teas yeast
1 1/3 teas salt
1 tbs malted rice extract (or sweetener of choice)
2 tbs rapeseed oil (plus extra for brushing)
2 handfuls mixed seeds (choose from poppy, sesame, sunflower, pumpkin, hemp etc)
350ml warm water
Do It
In a large mixing bowl add the flour, seeds, salt and yeast. Stir the sweetener into the water and gradually pour the water into the flour mix. Mixing it in with your hand or a wooden spoon. Once all of the water is combined and a dough is formed add the oil and brush/ rub all the excess dough on your hands/ spoon back into the bowl and begin to knead the dough.
If your bowl is big enough, its possible to knead it in the bowl. Otherwise turn out onto a cool surface, ideally lightly oiled. Knead, it will be quite sticky, don’t worry, just give a good twist and pummel. A lightly film of oil on your hands helps with the stickiness. Work it! Imagine you’re a kid again playing with food. Its fun! Give it roughly a couple of minutes kneading. When the dough is smooth and pliant, you’re ready.
Form a ball and lightly oil it all over, in the bowl, lightly cover with a kitchen cloth and leave in a place that is slightly warmer than room temperature for 45 minutes. The warmer it is, the more the yeast will come to life, so keep your eye on it. The key is that the dough doubles in size.
 A nicely shaped spelt dough ball, ready for its first prove
Now knock it back (or knead it again). Basically knocking the bubbles out of the bread and getting the gluten going even more. This will all add to the firm and chewy texture of the loaf. Form a rough and fat ball. It will spread out, so tall is good.
Sprinkle or roll the dough in seeds if you like. Grab an oven tray lined with baking parchment and place your dough on it and leave to prove for 35 minutes, until the dough has almost doubled in size (ideally, in a very perfect world, leaving just a little room for expanding in the oven).
Preheat an oven to 200oc and place a baking tray on a lower shelf.
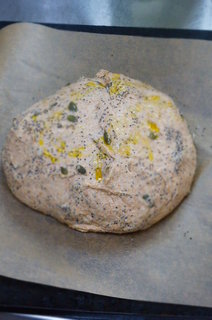 The loaf ready for its final 35 minute prove
This is spelt so the loaf may now look like a fat pizza base. This is fine. Using your hands or a spatula, gently form the loaf back together into the shape you prefer, pushing it and tucking it in. You don’t want to handle it much at all at this stage. A bit of gentle persuasion is best. The loaf will be quite thin, nothing like a sphere but should not resemble a gorgeous, 2D frisbee.
Pour a couple of cups of water into a the now hot oven tray (lots of steam) and pop the loaf into the oven on a middle shelf.
(The tray steaming step is not essential).
Bake for 40-45 minutes. Tap the base, it should sound nice and hollow with a good crust. If this is not the case, pop it back in for another five minutes and repeat the process.
 Lovely light spelt loaf with a good thick crust
Once baked, leave the loaf on a wire rack (with a few inches of clearance underneath, too close to the surface and you’ll end up with a soggy bottom, which is never pleasant). I give it at least 30 minutes before tucking in. If you are in a hurry to cool the loaf down, cut in half or quarters. This will release the steam making the loaf cool much quicker.
Serve
Makes a brilliant slice of toast and is ideal with soups especially. I like it best warm with a drizzle of nice rapeseed oil or a little pot of balsamic vinegar and olive oil. Just a quick dip in that and then………woahhhhhh! Lovely stuff.
Foodie Fact
Spelt is a good source of protein, dietary fibre, some B vitamins and minerals, especially manganese with good levels of iron. It makes for a highly nutritious loaf.


")